Kia Optima Hybrid: Windshield Wiper/Washer / Front Wiper Motor Repair procedures
| Removal |
| 1. |
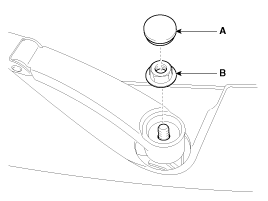
Loosen the windshield wiper arm nut (B) after removing a wiper cap (A).
|
| 2. |
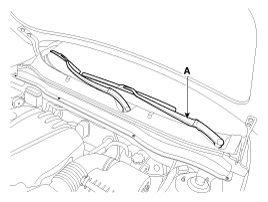
Remove the windshield wiper arm and blade (A).
|
| 3. |
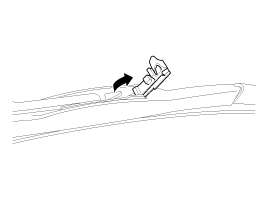
If necessary, release the wiper blade fixing clip by pulling up and remove the wiper blade from the inside radius of wiper arm.
|
| 4. |
Disconnect the washer hose (A) connected to cowl top cover.
|
| 5. |
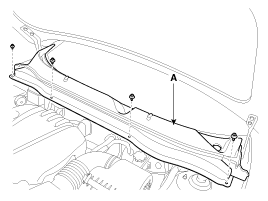
Remove the weather strip and the cowl top cover (A) after removing rivets.
|
| 6. |
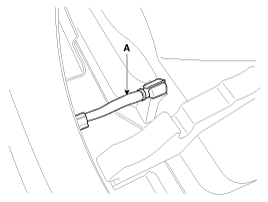
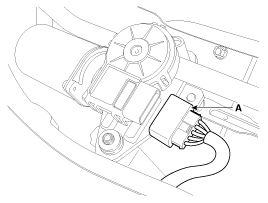
Disconnect the wiper motor connector (A) from the wiper motor & linkage assembly.
|
| 7. |
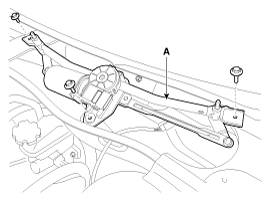
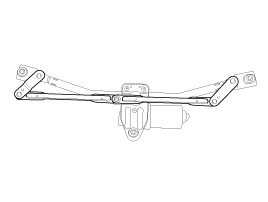
Remove the windshield wiper motor and linkage assembly (A) after removing 3 bolts.
|
| 8. |
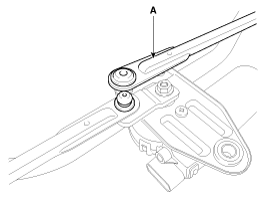
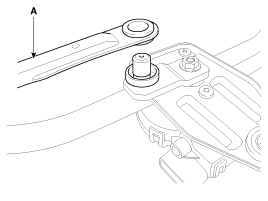
Hold the wiper motor crank arm and remove the upper linkage (A) from the wiper motor crank arm.
|
| 9. |
Remove the lower linkage (A) from the wiper motor crank arm.
|
| 10. |
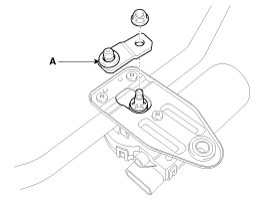
Remove the crank arm (A) after loosening a nut.
|
| 11. |
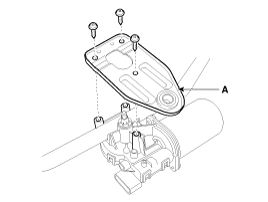
Remove the wiper motor bracket (A) after loosening the bolts.
|
| Installation |
| 1. |
Install the wiper motor. |
| 2. |
Install the crank arm.
|
| 3. |
Install the lower and upper linkage to the wiper motor crank arm.
|
| 4. |
Install the wiper motor and linkage assembly and then connect the wiper motor connector.
|
| 5. |
Install the cowl top cover. |
| 6. |
Install the windshield wiper arm and blade.
|
| 7. |
Install the wiper arm and blade to the auto stop position.
A : Auto stop position (Blade)
|
| 8. |
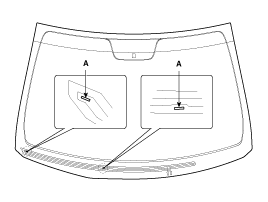
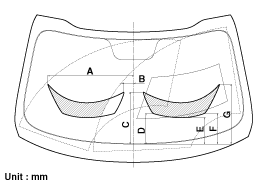
Set the cowl top cover on the specified spray position.
|
| Inspection |
| 1. |
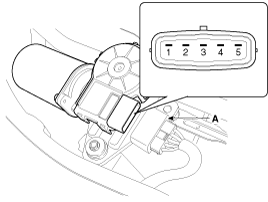
Remove the connector (A) from the wiper motor.
|
| 2. |
Attach the positive (+) lead from the battery to terminal 3 and the negative (-) lead to terminal 1. |
| 3. |
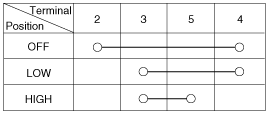
Check that the motor operates at low or high speed as below table.
|
 Front Wiper Motor Components and Components Location
Component Location 1. Cap2. Nut3. Wiper arm & blade4. Rivet5. Cowl top cover6. Bolt7. Wiper motor & linkage assembly ...
 Front Washer Motor Repair procedures
Inspection 1. With the washer motor connected to the reservoir tank, fill the reservoir tank with water. Before filling the reservoir tank with water, check the filter for foreign material ...
Other information:
Kia Optima Hybrid (TF HEV) 2016-2020 Service Manual: Output Speed Sensor Description and Operation
Description Input speed sensor is a vital unit that measures the rate of rotation of the input shaft inside the transaxle and delivers the readings to the TCM. The sensor provides critical input data that''s used in feedback control, gear setting control, line pressure control, clutch activation pressure ...
Kia Optima Hybrid (TF HEV) 2016-2020 Service Manual: Components and Components Location
Components Location 1. AVN (A/V & Navigation head unit)2. Midrange speaker3. External amplifier4. Roof antenna (GPS + SDARS)5. Front door speaker6. Rear speaker7. Woofer speaker8. Antenna feeder cable9. Center speaker10. Glass antenna (Radio)11. Back view camera12. Feeder cable joint connector ? ...

