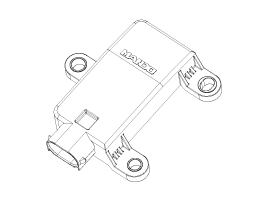
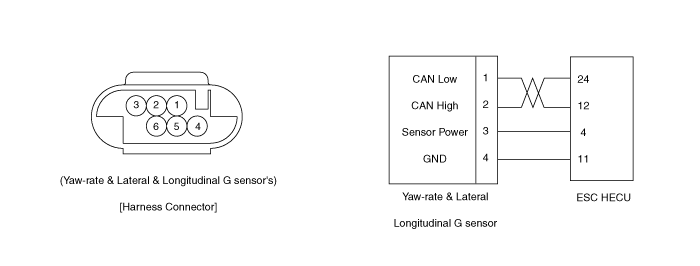
Kia Optima Hybrid: ESC(Electronic Stability Control) System / Yaw-rate and Lateral G Sensor Description and Operation
| Description |

| Description | Specification | Remarks | |
| Operating voltage | 10 ~ 16V | ||
| Output signal | CAN Interface | ||
| Operating temperature | -40 ~ 85°C (-40 ~ 185°F) | ||
| Yaw-rate sensor | Measurement range | -75 ~ 75°/sec | |
| Frequency response | 15 ~ 45Hz | ||
| Lateral G sensor | Measurement range | -14.715 ~ +14.715g | |
| Frequency response | 50Hz ± 60% | ||

 Rear Wheel Speed Sensor Repair procedures
Removal 1. Remove the rear wheel and tire. Tightening torque: 88.3 ~ 107.9 N.m (9.0 ~ 11.0 kgf.m, 65.1 ~ 79.6 lb-ft) 2. Remove the rear wheel speed sensor mounting bolt (A). Tightening torque: 6.9 ~ 10.8 ...
 Yaw-rate and Lateral G Sensor Repair procedures
Removal 1. Turn ignition switch OFF and disconnect the negative (-) battery cable. 2. Remove the floor console. (Refer to the Body group - "Console") 3. Disconnect the yaw rate & lateral G sensor connector ...
Other information:
Kia Optima Hybrid (TF HEV) 2016-2020 Service Manual: Troubleshooting
Troubleshooting SymptomProbable causeRemedyPlay in steeringLoose yoke plugRetightenLoose steering gear mounting boltsRetightenLoose or worn tie rod endRetighten or replace as necessarySteering wheel does not return properlyExcessive turning resistance of tie rod endReplaceYoke plug excessively tightAdjustTie ...
Kia Optima Hybrid (TF HEV) 2016-2020 Service Manual: General Safety Information and Caution
Safety Precaution Since hybrid vehicles contain a high voltage battery, if the high voltage system or vehicles are handled incorrectly, this might lead to a serious accidents like electric shock and electric leakage. • Be sure to shut off the high voltage by removing the ...
