Kia Optima Hybrid: MTS System / Telemetics Unit (TMU) Repair procedures
| Removal |
|
| 1. |
Disconnect the negative (-) battery terminal. |
| 2. |
Remove the AVN head unit.
(Refer to AVN System - "AVN Head Unit") |
| 3. |
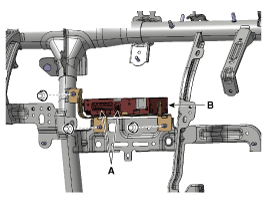
Disconnect the TMU unit and GPS connector (A). |
| 4. |
Remove the TMU unit (B) after loosening the nuts.
|
| Installation |
| 1. |
Install the TMU unit. |
| 2. |
Install the AVN head unit and center fascia panel. |
| 3. |
Connect the negative (-) battery terminal. |
| Inspection |
| 1. |
After replacing the TMU unit, access Dealer Engineering Mode in head unit.
(Refer to MTS system - "TMU Dealer Engineering Mode") |
| 2. |
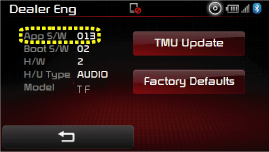
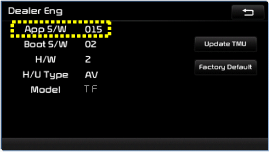
Check the TMU version ("App S/W") from the head unit screen.
[Audio type]
[AVN type]
|
| 3. |
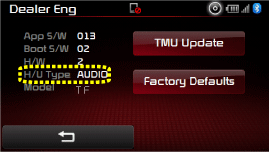
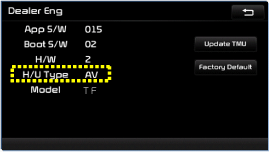
Check the H/U Type from the head unit screen.
[Audio type]
[AVN type]
|
| 4. |
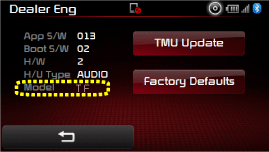
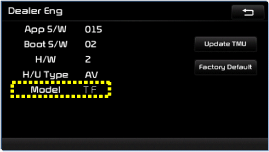
Check the Model from the head unit screen.
[Audio type]
[AVN type]
|
 Telemetics Unit (TMU) Components and Components Location
Component Connector Pin Specification No.Pin NameTypeFromToDescription (Wiring Spec.)1GNDDC GroundTMUBatteryConnected to battery ground2GNDDC GroundTMUBatteryConnected to battery ground3-----4-----5-----6-----7-----8-----9-----10-----11-----12HS ...
 Smart key System
...
Other information:
Kia Optima Hybrid (TF HEV) 2016-2020 Service Manual: Compression Test
Compression Pressure Inspection If the there is lack of power, excessive oil consumption or poor fuel economy, measure the compression pressure. Engine may start anytime the vehicle is in READY mode.1. Warm up and stop engine. 1. Warm up and stop engine. Allow the engine to ...
Kia Optima Hybrid (TF HEV) 2016-2020 Service Manual: High Voltage Shut-off Procedures
High Voltage Shut-off Procedures Be sure to read and follow the “General Safety Information and Caution” before doing any work related with the high voltage system. Failure to follow the safety instructions may result in serious electrical injuries. • High voltage components: ...


