Kia Optima Hybrid: Rear Suspension System / Rear Cross Member Repair procedures
| Replacement |
| 1. |
Remove the rear wheel & tire.
|

| 2. |
Remove the rear lower arm.
(Refer to lower arm) |
| 3. |
Remove the rear shock absorber.
(Refer to rear shock absorber) |
| 4. |
Remove the rear upper arm.
(Refer to rear upper arm) |
| 5. |
Remove the trailing arm.
(Refer to trailing arm) |
| 6. |
Remove the rear assist arm.
(Refer to rear assist arm) |
| 7. |
Remove the rear muffler.
|

| 8. |
Loosen the mounting bolts and then remove the rear cross member (A) from the frame.
|
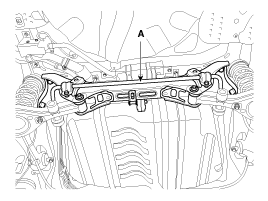
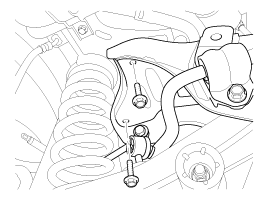
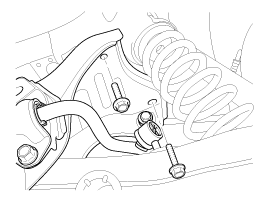
| 9. |
Installation is the reverse of removal. |
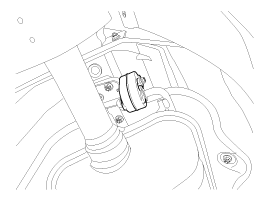
 Trailing Arm Repair procedures
Replacement 1. Remove the rear wheel & tire. Tightening torque: 88.3 ~ 107.9N.m (9.0 ~ 11.0kgf.m, 65.1 ~ 79.6lb-ft) Be careful not to damage the hub bolts when removing the rear wheel ...
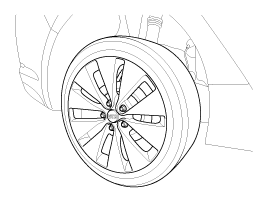
 Tires/Wheels
...
Other information:
Kia Optima Hybrid (TF HEV) 2016-2020 Service Manual: Repair procedures
Inspection Lighting Switch Inspection With the multifunction switch in each position, make sure that continuity exists between the terminals below. If continuity is not as specified, replace the multi-function switch. Lighting Switch (Auto Light) Lighting Switch Dimmer And Passing Switch HU : Head lamp ...
Kia Optima Hybrid (TF HEV) 2016-2020 Service Manual: General Information
Identification Number Locations Identification Number Description Vehicle Identification Number 1. World Manufacturer Identifier (WMI) - KNA : Passenger vehicle, MPV(Multipurpose Passenger Vehicle)/SUV(Sports Utility Vehicle)/RV(Recreational Vehicle) 2. Vehicle line - G : OPTIMA 3. Model & Series ...