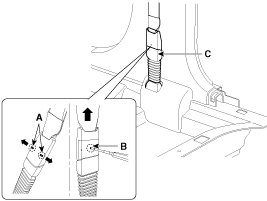
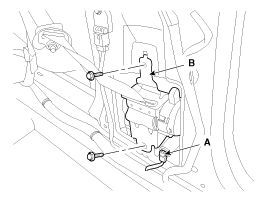
After disconnecting the pretensioner connector lock pin,
remove the seat belt pretensioner connector (A), loosen the mounting
bolts, then remove the pretensioner (B).
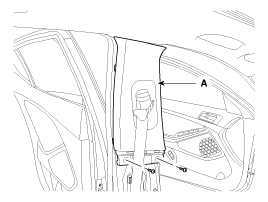
Replacement Rear Seat Belt Replacement • When installing the belt, make sure not to damage the retractor. 1. Remove the following items first. • Rear seat assembly (Refer to the BD group ...
Inspection 1. Disconnect the negative(-) battery terminal. 2. Remove the roof trim. (Refer to the BD group - "Roof trim") 3. Remove the handsfree mic (A) after disconnect the connector from loof top. Be careful not to damage the roof trim when removing the hands free mic. Do not reuse the ...
Removal AVN Head Unit • Take care not to scratch the center fascia panel and related parts. • Eject all the disc before removing the AVN head unit to prevent damaging the CD player''s load mechanism. 1. Disconnect the negative (-) battery terminal. 2. Using a screwdriver or remover, ...


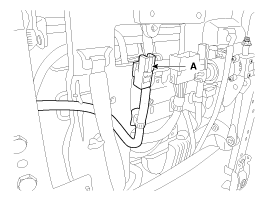
 Components and Components Location
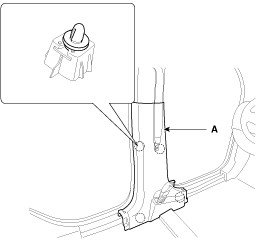
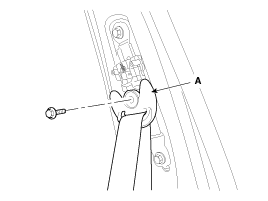
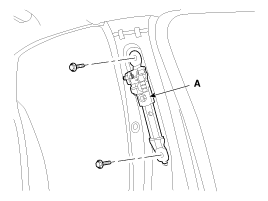
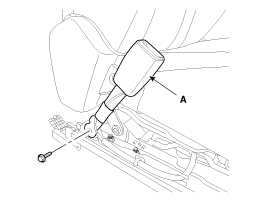
 Rear Seat Belt Repair procedures