Kia Optima Hybrid: Body Dimensions / Side Body Body Repair
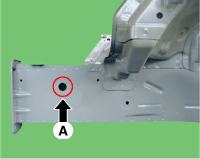
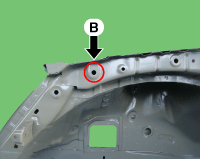
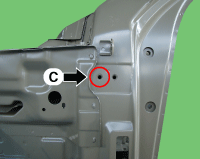
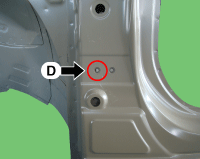
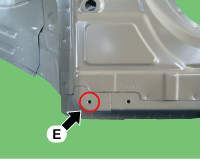
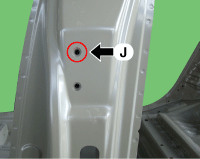
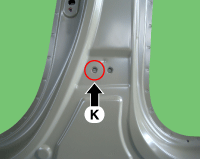
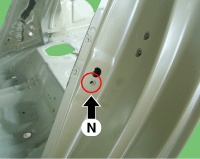
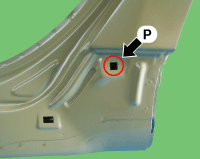
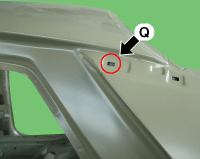
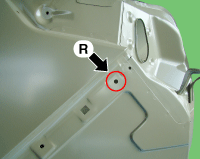
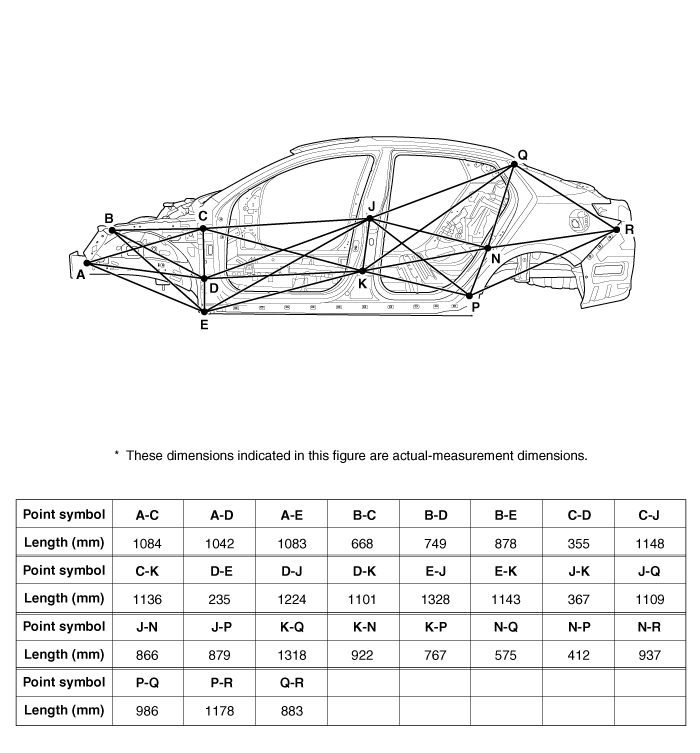
| Side Body A |
|
|
|
| Front side member tooling hole (O20) | Fender apron tooling hole (O10) | Front door upper hinge mounting hole (O13) |
|
|
|
| Front door lower hinge mounting hole (O13) | Fender panel mounting hole (O6.6) | Rear door upper hinge mounting hole (O13) |
|
|
|
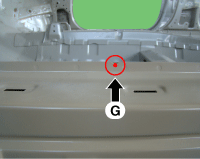
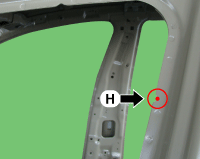
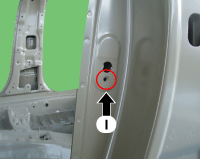
| Rear door lower hinge mounting hole (O13) | Rear door switch mounting hole (O10) | Side sill moulding mounting hole (10X10) |
|
| |
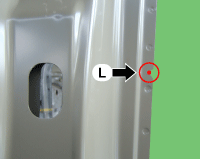
| C pillar moulding mounting hole (11X6) | Rear bumper mounting hole (8X7) |
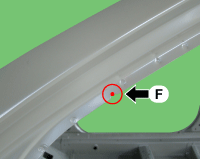
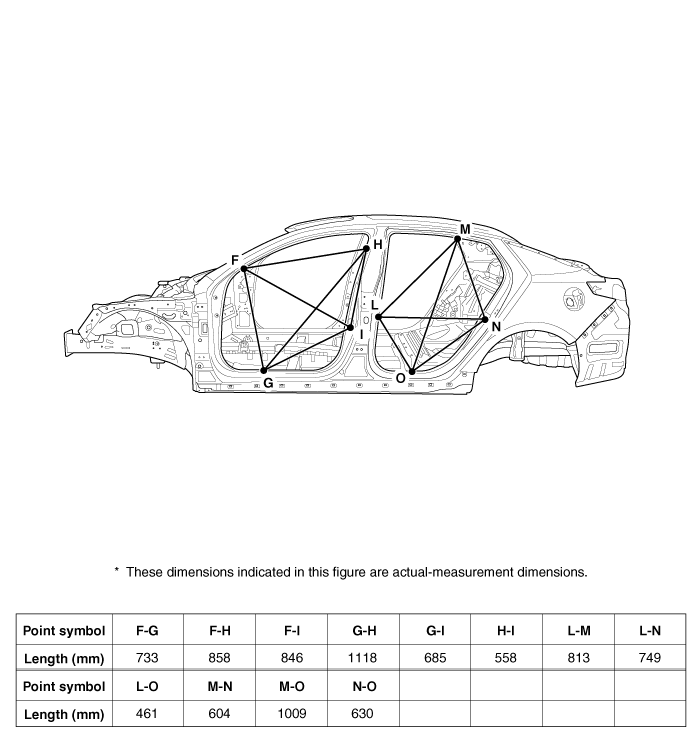
| Side Body B |
|
|
|
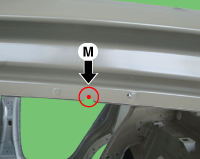
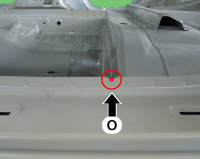
| Side outer panel notch | Side outer panel notch | Side outer panel notch |
|
|
|
| Front door switch mounting hole (O10) | Side outer panel notch | Side outer panel notch |
|
| |
| Rear door switch mounting hole (O10) | Side outer panel notch |
 Front Body Body Repair
Front Body A Hood hinge mounting hole (O13)Fender apron upper inner panel tooling hole (O6.6)Front suspension mounting hole (O11)Cowl panel tooling hole (O8)Front pillar cornerFront pillar corner Front ...
 Interior Body Repair
Interior A Front pillar trim mounting hole (O12)Front pillar trim mounting hole (O8.4)Cowl crossbar mounting hole (O9)Cowl side trim mounting hole(8.4X8.4)Front door checker mounting hole (O13)Seat belt ...
Other information:
Kia Optima Hybrid (TF HEV) 2016-2020 Service Manual: Specifications
Specifications ItemsSpecificationsRated voltage5VLoadMax. 1mA (When head lamp lighting)Illuminations (LUX)501.42 ± 0.31V1002.63 ± 0.58V1503.84 ± 0.84V ...
Kia Optima Hybrid (TF HEV) 2016-2020 Service Manual: Overdrive Clutch Control Solenoid Valve (OD/C_VFS) Description and Operation
Description Overdrive clutch control solenoid valve(OD/C_VFS) is attached to the valve body. This variable force solenoid valve directly controls the hydraulic pressure to the overdrive clutch. ...

