Kia Optima Hybrid: Cruise Control System / Cruise Control Switch Repair procedures
Kia Optima Hybrid (TF HEV) 2016-2020 Service Manual / Engine Electrical System / Cruise Control System / Cruise Control Switch Repair procedures
| Removal and Installation |
| 1. |
Disconnect the battery negative terminal.
|
| 2. |
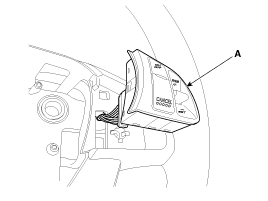
Remove the driver airbag module. (Refer to the RT group - "Airbag module") |
| 3. |
Remove the steering wheel. (Refer to the ST group - "Steering column and shaft") |
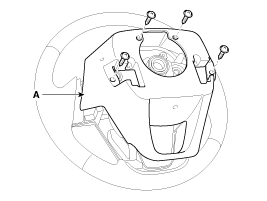
| 4. |
Remove the steering wheel cover (A) after loosening the screws.
|
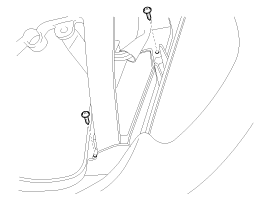
| 5. |
loosening the screws at rear side of switch.
|
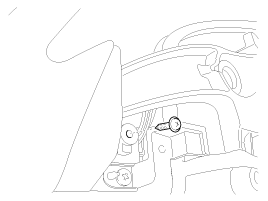
| 6. |
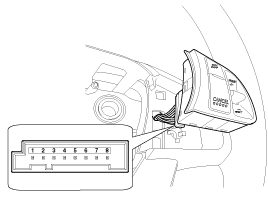
Disconnect the cruise control switch connector and then remove the switch (A).
|

| 7. |
Installation is the reverse of removal. |
| Inspection |
Measuring Resistance
| 1. |
Disconnect the cruise control switch connector from the control switch.
|
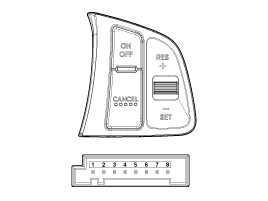
| 2. |
Measure resistance between terminals on the control switch when each function switch is ON (switch is depressed).
|
| 3. |
If not within specification, replace switch. |
Measuring Voltage
| 1. |
Connect the cruise control switch connector to the control switch.
|
| 2. |
With ignition switch ON, measure voltage between terminals on
the harnessside connector when each function switch is ON (switch is
depressed).
|
| 3. |
If not within specification, inspect the control switch
resistance. The measuring resistance value is not within specification,
replace the switch and measure the voltage again. |
| 4. |
If resistance is OK but, measuring voltage is not within
specification, inspect the wiring harness and connectors between the
switch and the instrument cluster . |
 Cruise Control Switch Schematic Diagrams
Circuit Diagram ...
 Ignition System
...
Other information:
Kia Optima Hybrid (TF HEV) 2016-2020 Service Manual: Oil Pump Components and Components Location
Component 1. Flange bolt2. Sleeve3. Reaction shaft support assembly4. Driven gear 5. Sleeve6. Driven gear 7. Oil pump housing ...
Kia Optima Hybrid (TF HEV) 2016-2020 Service Manual: Engine Oil Repair procedures
Oil And Filter Replacement • Prolonged and repeated contact with mineral oil will result in the removal of natural fats from the skin, leading to dryness, irritation and dermatitis. In addition, used engine oil contains potentially harmful contaminants which may cause skin cancer. • ...
© 2025 Copyright www.koptimatfhev.com